How To Attach Tarp To Tile Roof

Install A Blue Tarp On A Roof Diy In A Hour

How To Cover Your Roof After Storm Damage Hunker
How To Tarp A Roof Without Nails Contractor Quotes

How To Tarp A Roof The Home Depot
How To Tarp A Tile Roof Orlando Roof Tarping Roof Repair Orlando Temporary Repair

7 Steps To Temporarily Patch Your Roof With A Tarp Roof Emergency Roof Repair Roof Patch Roof Repair
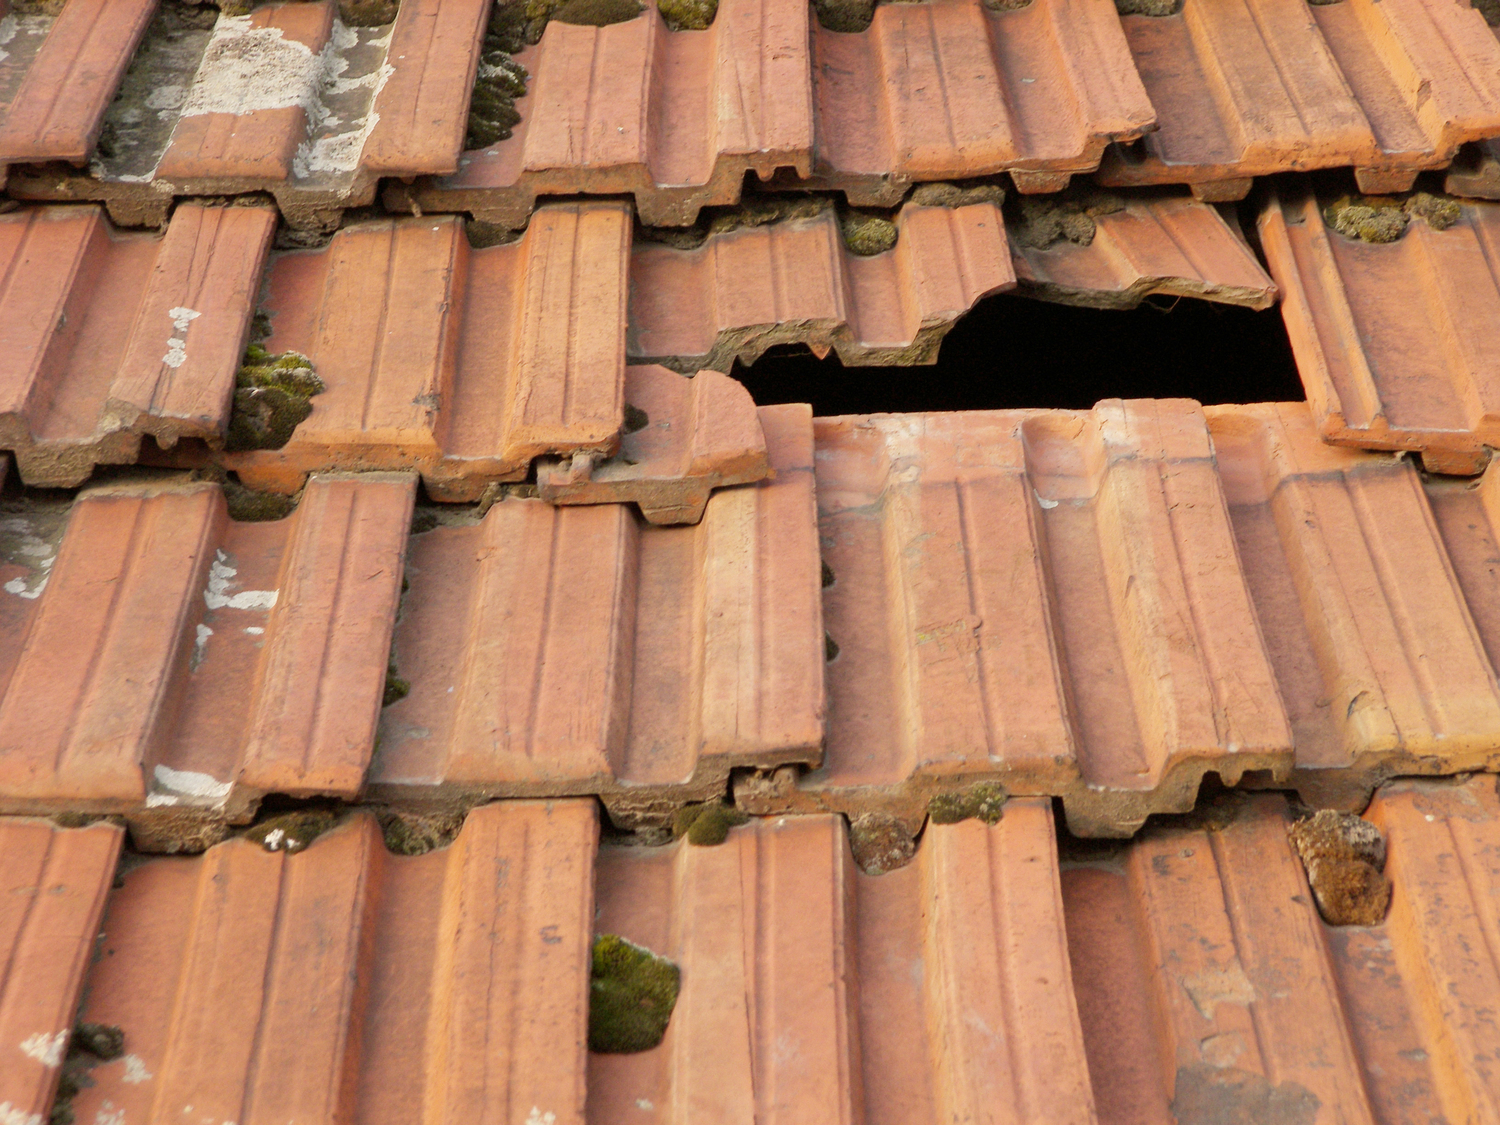
Find the source of the roof leak.
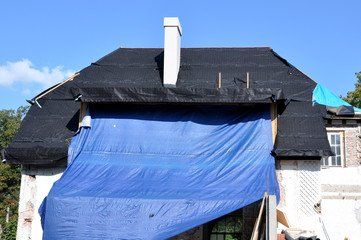
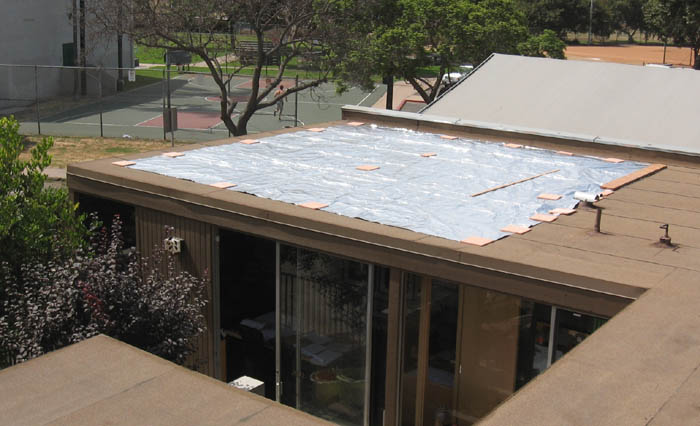
How to attach tarp to tile roof. Secure 4 2x4 38 x 89mm boards with a drill to the peak ends of the tarp. This will prevent water and debris from entering the damaged area. Secure the tarp s remaining sides with additional 2 x 4 boards using your screw gun and screws. Installing tarp on a roof without nails.
Attach the 1x2s through the tarp and into. To secure a tarp to your roof. To fasten the furring strips to the tarp and roof use 2 to 3 galvanized roofing nails. Here are the steps on how to install a tarp on your roof without nails.
Wrap the tarp around the boards. Securing the tarp to your roof 1. The four edges are the peak ends. To begin securing the tarp screw through the rolled 2 x 4 boards with your screw gun.
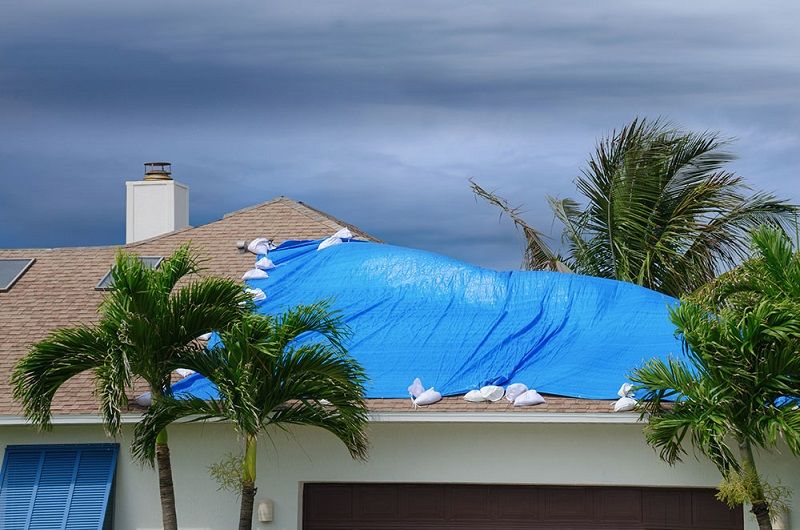
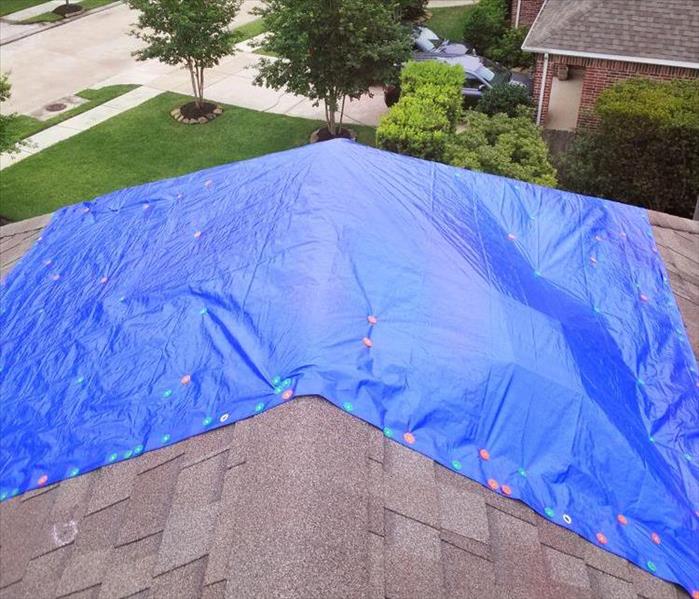
You need to know first which spot on the roof needs tarping up. Then fold the excess tarp under a few rotations for a tight clean fit. Extend the top edge of the tarp over the ridge of the roof. It is best to also weight the tarp down with sandbags or heavy objects to keep wind from blowing up under it.
Installing a tarp on your roof is easier than you think. Stretch a tarp flat on the roof. It s even easier if you do it without nails. The 2 by 4 should be about 2 feet longer than the tarp width.
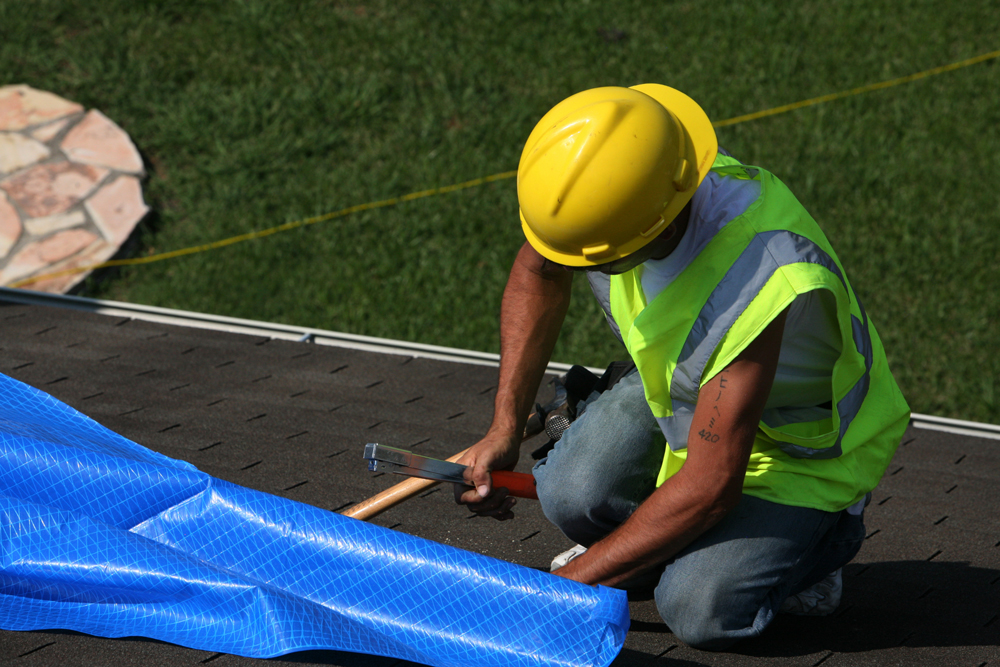
On a shingled roof you just nail the tarp in place using furring strips but you can not nail a tarp into a tile roof. Lay more 2 by 4s on either side of the tarp and attach those as well for a tight well secured water barrier. Screw the 2 by 4 directly into the roof to secure it. Wearing a pair of carpenter s gloves wrap the tarp around the boards underneath so.
Positions several 1 2 pieces of lumber on the tarp running vertically down the slope of the roof. The reason for the longer nails is to go through the furring strips the tarp and then just enough length will be left to bite into the roof sheathing. Screw through the tarp and the. Fully secure your roof tarp to prevent flapping.

How To Tarp A Roof Like A Pro Grizzly Tarps Blog

How To Tarp A Roof

Utarpit Tile Roof Installation Youtube

Utarpit Self Adhesive Roofing Tarp For Pros The Home Depot Youtube

How To Attach A Tarp To A Leaking Storm Damaged Roof Today S Homeowner Roof Repair Roof Roof Damage

How To Tarp A Roof Youtube
How To Tarp A Roof For Temporary Roof Repair

How To Tarp A Roof A Complete Guide Rethority

Utarpit 20 Ft X 25 Ft Blue Roofing Tarp Bt2025 The Home Depot
Solareflex And Snow White Cooltarps For Cool Roofs

Osha S Hazard Exposure And Risk Assessment Matrix For Hurricane Response And Recovery Work Roof Inspection Tarping Repair And Replacement
How To Tarp A Shingle Roof Extreme How To Blog

Our Blue Poly Tarps Are Available In Large Sizes Up To 100 X100 Use It For Roof Coverage Outside Storage Equipment Protecti Roof Large Tarps Google Earth

How To Tarp A Roof Without Nails Nailstip
Servpro Of Delray Beach News And Updates

Self Adhesive Roof Tarp Xtarp Solutions Corp
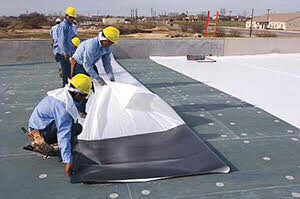
High Performance Adhesive Roof Tarp And Roofing Materials From Cti

Ulrich Construction Roof Demo In Progress Bullhead City Az Leaking Roof
Https Encrypted Tbn0 Gstatic Com Images Q Tbn 3aand9gcqhb7ffttswzcd5bnmttwzlb2ltnhgsraaqv1abzyggrzzoka9a Usqp Cau

Pergola Rain Covers Patio Shade Deck With Pergola Pergola Patio

How To Do Simple Roofing Repairs Roof Repair Roof Restoration Roof Damage

Turn Your Old Ripped Target Gazebo Into This Replacement Diy Gazebo Patio Gazebo Gazebo Roof

Pergola With Clear Roof Patio Ideas Pinterest Pergolas Patios And Backyard

Heavy Duty Waterproof Roof Tarps Tarp Factory
Swing N Slide 52 X 90 Swing Set Hardware Reviews Wayfair

Tarp On Roof High Resolution Stock Photography And Images Alamy

How To Waterproof Your Shed Roof With An Epdm Shed Roof Kit Fast And Easy To Install Youtube

Black Vinyl Heavy Duty Roof Leak Tarp Ceiling Leak Leaking Roof Roof

Black Vinyl Heavy Duty Roof Leak Tarp Leaking Roof Ceiling Leak Tarps

Customer Photo Gallery Creative Shelters Backyard Shade Outdoor Shade Shade Tent

I Tried A Lot Of Different Methods For Securely And Easily Attaching My Shade Sails In My Backyard Ratchet Straps By Far Ar Shade Sail Diy Shades Patio Remodel

Make Your Own Dyi Dog Kennel Roof Cover In 2020 Diy Dog Kennel Dog Pen Outdoor Dog Kennel Roof

Tarp Roof For The Tree House Pallet Tree Houses Tree House Deck Tree House Plans

Roofing Design Ideas On How To Handle The Roof On Your Home Like A Pro Roofing Design Ideas Taking Care Of Your Home S Roof Is A Pretty Big Job Cat

Popsugar Metal Roof Cost Lowes Metal Roofing Roof Cost

Should You Replace Your Roof Before Getting Solar Panels For Your Home Semper Solaris

Awesome Diy Patio Shade 5 Diy Tarp Awning For Patio Cover Shade Diy Patio Cover Backyard Shade Patio Shade

How To Build A Rooftop Deck With A View Some Considerations Rioeuteamo Net Building A Patio Roof Deck Rooftop Deck

Blake Co Frame Patio Canopies Patio Canopy Diy Canopy Backyard Canopy

Marquees And Tents 180994 20x30 Heavy Duty Party Tent Top Cover Part Only No Frame Buy It Now Only 380 On Ebay M Party Tent Canopy Tent Canopy Cover

The Best Way To Tarp A Leaking Roof In An Emergency Gutter And Roof Repairs

Pipe Leak Diverter By New Pig Catch Pipe Leaks And Condensation Stop Roof Leak Damage Mildew Resistant And Reusable 12 Dia X 12 H Tls691 Cl Science Lab Spill Containment

