How To Attach Rigid Foam Insulation To Attic Access

How To Insulate Your Attic Lemon Grove Blog Attic Remodel Attic Renovation Home Insulation

Frugal Happy Giant Foam Box Part 2 Greenbuildingadvisor

Diy Attic Access Insulation 1 4 X 8 Sheet Of 2 Rigid Foam Board Approx 33 1 Tube Caulk Attic Stair Insulation Attic Renovation Attic Stairs

Superattic An Innovative Rigid Foam Board For Attic Insulation

Installing Rigid Foam Insulation On Interior Walls Or Ceiling Attic Renovation Attic Storage Attic Remodel
Rigid Foam Insulation Near Depere Green Bay Allouez Ne Wi Silverglo Foam Board Insulation

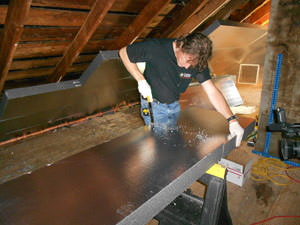
Place a strip of caulking at every junction where the foam boards will have to meet the support structures of the attic.
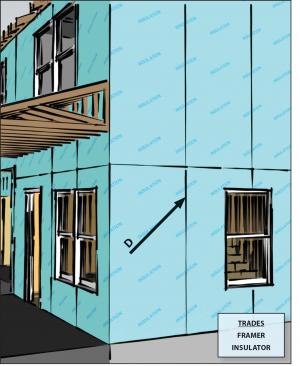
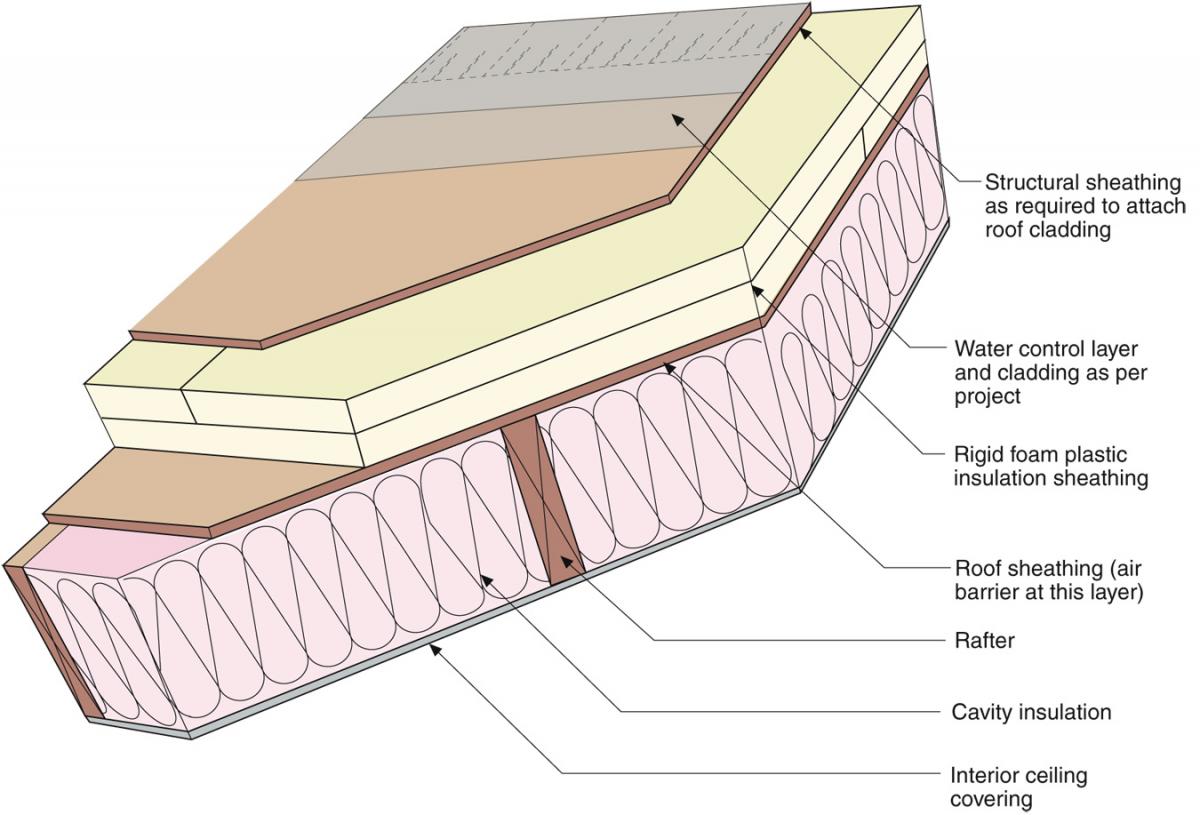
How to attach rigid foam insulation to attic access. Place the furring strips on the wall carefully making sure they are aligned in a straight plane with one another. Cut two pieces of foam board that are about 1 4 smaller than the hatch. Select rigid foam insulation boards that are at least 1 2 inch less in thickness than the rafter space is deep if you plan to finish the attic as living space. Attach the two layers of foam board together and apply them to the hatch.
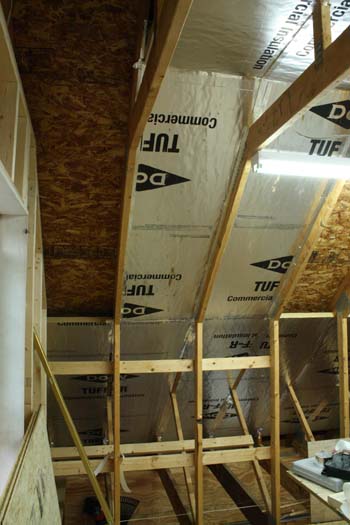
Install the weather stripping onto the hatch or on the inside of the trim. Attach the pieces of foam board to themselves and then attach them to the hatch. With the use of rigid insulation homeowners in the northern areas of the country are able to combat heat loss through their attic the rigid insulation is a foam polystyrene material that comes in various thickness to add to the current r value of the fiberglass insulation between the rafters. Use a screw length as long as the insulation is.
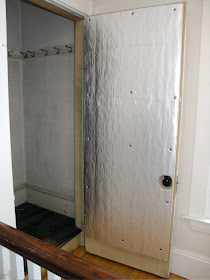
Install fiberglass batt insulation on top of the foam board. Make sure the r value of the insulation on the hatch matches the r value of the insulation in the rest of the attic. Cut out two pieces of rigid foam board that are 1 4 inch smaller than the hatch so homeowners can slide the attic access panel open easily. Once you have the appropriate materials you can start the process of sealing and insulating the attic hatch.

Above Deck Rigid Foam Insulation For Existing Roofs Building America Solution Center

Attic Insulation Foam Board Attic Ceiling Insulation Attic Insulation Rafter Insulation

How To Install Radiant Barrier On Attic Rafters In 5 Steps Attic Renovation Attic Flooring Attic Remodel
Insulating Cathedral Ceiling With Foam Board Home Construction Improvement

Insulating Hideaway Stairs Attic Renovation Attic Storage Attic Design

Installing Rigid Foam Insulation On Interior Walls Or Ceiling Attic Rooms Attic Renovation Rigid Foam Insulation

50mm Xtratherm High Performance Rigid Foam Pir Insulation Board Sheet Roof Or Floor Min Order Of 4 Sheets Ama Home Insulation Attic Remodel Diy Insulation
Dover Projects Insulate An Attic Door

Site Built Ventilation Baffles For Roofs Attic Remodel Roof Vents Attic Renovation

Install Blown In Attic Insulation Lowe S

How To Insulate And Air Seal Pull Down Attic Stairs Attic Diy Insulation Attic Insulation

Installing Rigid Foam Insulation On Interior Walls Or Ceiling Attic Storage Attic Remodel Attic Design

Great Example Of An Attic In Need Of More Insulation Easy To Spot Low Insulation Levels Below The Top Of The At Attic Design Attic Renovation Attic Lighting
Unvented Attic Insulation Building America Solution Center

Learn How To Insulate A Cathedral Ceiling Using Foil Faced Polyiso Insulation Board This Is A Great Al Cathedral Ceiling Foam Insulation Spray Foam Insulation
Cathedral Ceiling Insulated With Foil Faced Foam Board Foam Attic Insulation Ceiling Insulation Cathedral Ceiling

Installing Rigid Foam Insulation On Interior Walls Or Ceiling Rigid Foam Insulation Foam Insulation Attic Insulation

Crawl Space Encapsulation Method Step 4 Attic Lighting Diy Crawlspace Crawlspace
Https Encrypted Tbn0 Gstatic Com Images Q Tbn 3aand9gcsnkii0fgdke8qwly1ke384u3icf4rqobgmxs7zz5a Usqp Cau

Insulate Your Attic Hatch With Weather Stripping Attic Insulation Attic Remodel Attic Flooring

Finishing An Attic Finished Attic Garage Attic Attic Remodel

Insulation Education Attic Renovation Home Insulation Attic Remodel

Install Baffles In Attics At The Soffit To Assure Proper Ventilation For Attic And Roof Attic Ventilation Attic Renovation Attic Remodel

16 Unbelievable Attic Storage Containers Ideas Attic Renovation Attic Remodel Home Insulation

5 Things You Need To Know About Vermiculite Finished Attic Blown In Insulation Attic Ventilation

1 Or 2 Rigid Foam At Top Plate Around Attic Baffle Greenbuildingadvisor
Story And A Half Homes St Croix Energy Solutions Hudson Wi

Insulating A Crawl Space My Home Science Home Insulation Crawlspace Diy Crawlspace

How To Insulate Your Attic Access Point Rigid Foam Insulation Insulation Home Inspection

This Retrofit Job Called For Nailbase Panels To Be Installed Above The Existing Roof Photo Credit Sipschool F Roof Insulation Roof Sheathing Foam Insulation

Home Weatherization Department Of Energy Attic Renovation Attic Knee Wall

Air Space Insulating Cathedral Ceiling With Foam Board Est R27 Cathedral Ceiling Cathedral Ceiling Insulation Ceiling Insulation

Create Your Own Attic Access Organize Your Storage Space Attic Storage Attic Renovation Attic Design

Watch This Video For An Inexpensive Diy Way To Insulate Fold Down Attic Stairs Using Foam Board To Mak Attic Stair Insulation Attic Staircase Attic Renovation

How To Install Rigid Foam On Top Of Roof Sheathing Greenbuildingadvisor

Pin By Hoosier Jim On Ceilings Nothing More Than Ceilings Ceiling Insulation Insulating A Shed Exposed Trusses

A Crash Course In Roof Venting Attic Remodel Roof Vents Attic Renovation
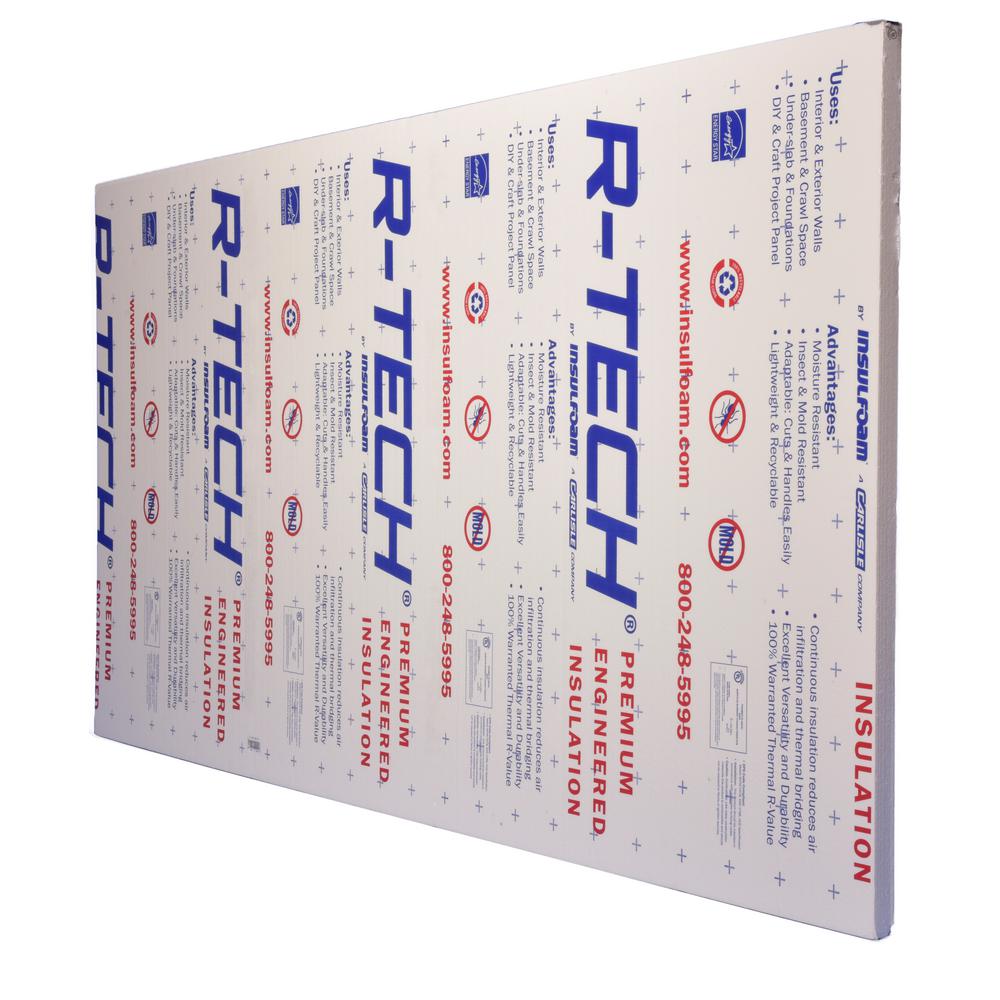
R Tech 1 1 2 In X 2 Ft X 4 Ft R 5 78 Rigid Foam Insulation 321355 The Home Depot
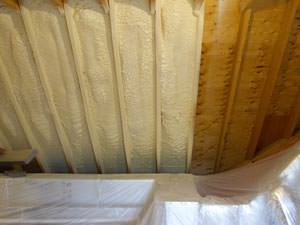
Spray Foam Vs Rigid Foam Insulation Comparison

Your Energy Tip Of The Day The Best Practice To Meet The R 10 Insulation Level Required By Nc Energy Code For A Attic Flooring Attic Renovation Attic Lighting

Installing Rigid Foam Insulation On Interior Walls Or Ceiling Rigid Foam Insulation Attic Renovation Attic Ceiling Insulation

Saving Energy Blown In Insulation In The Attic Blown In Insulation Attic Blown Insulation Attic Flooring